Hello all,
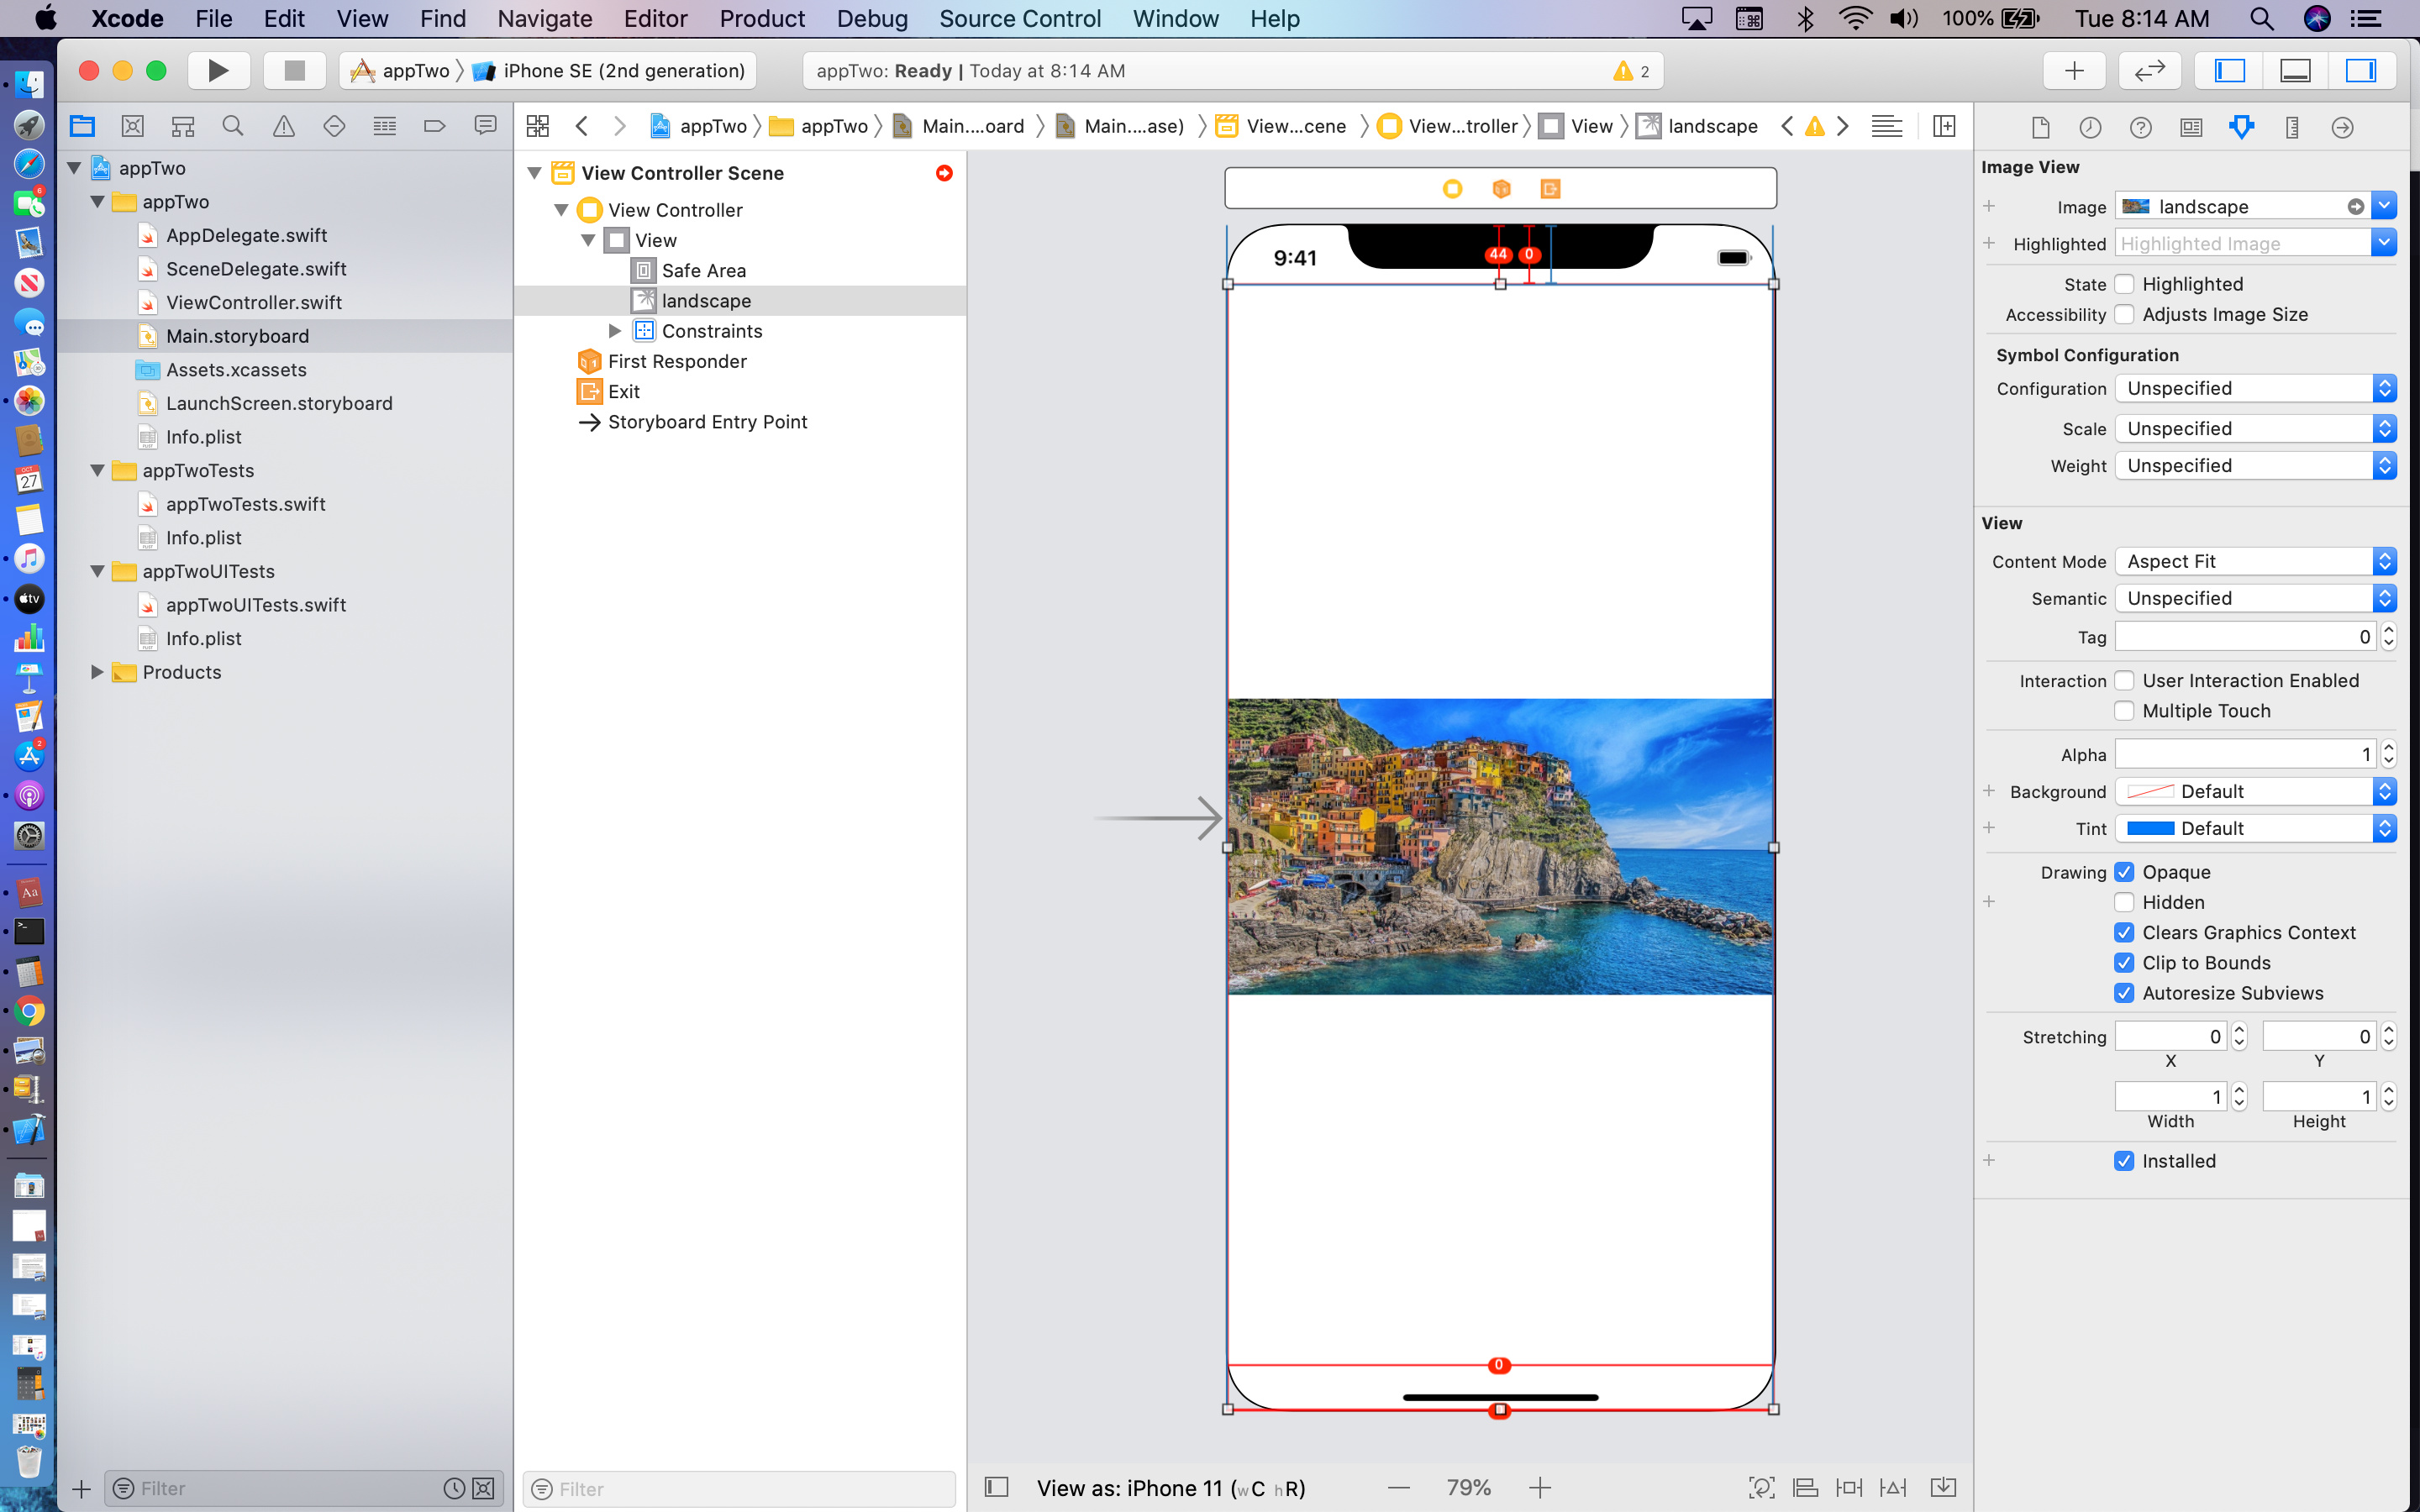
After adding my image and modifying the constraints to the values chris has as well as switching to the view for all four my project still looks like this?? I have tried everything even quitting xcode and making a whole new project. Any help would be greatly appreciated.
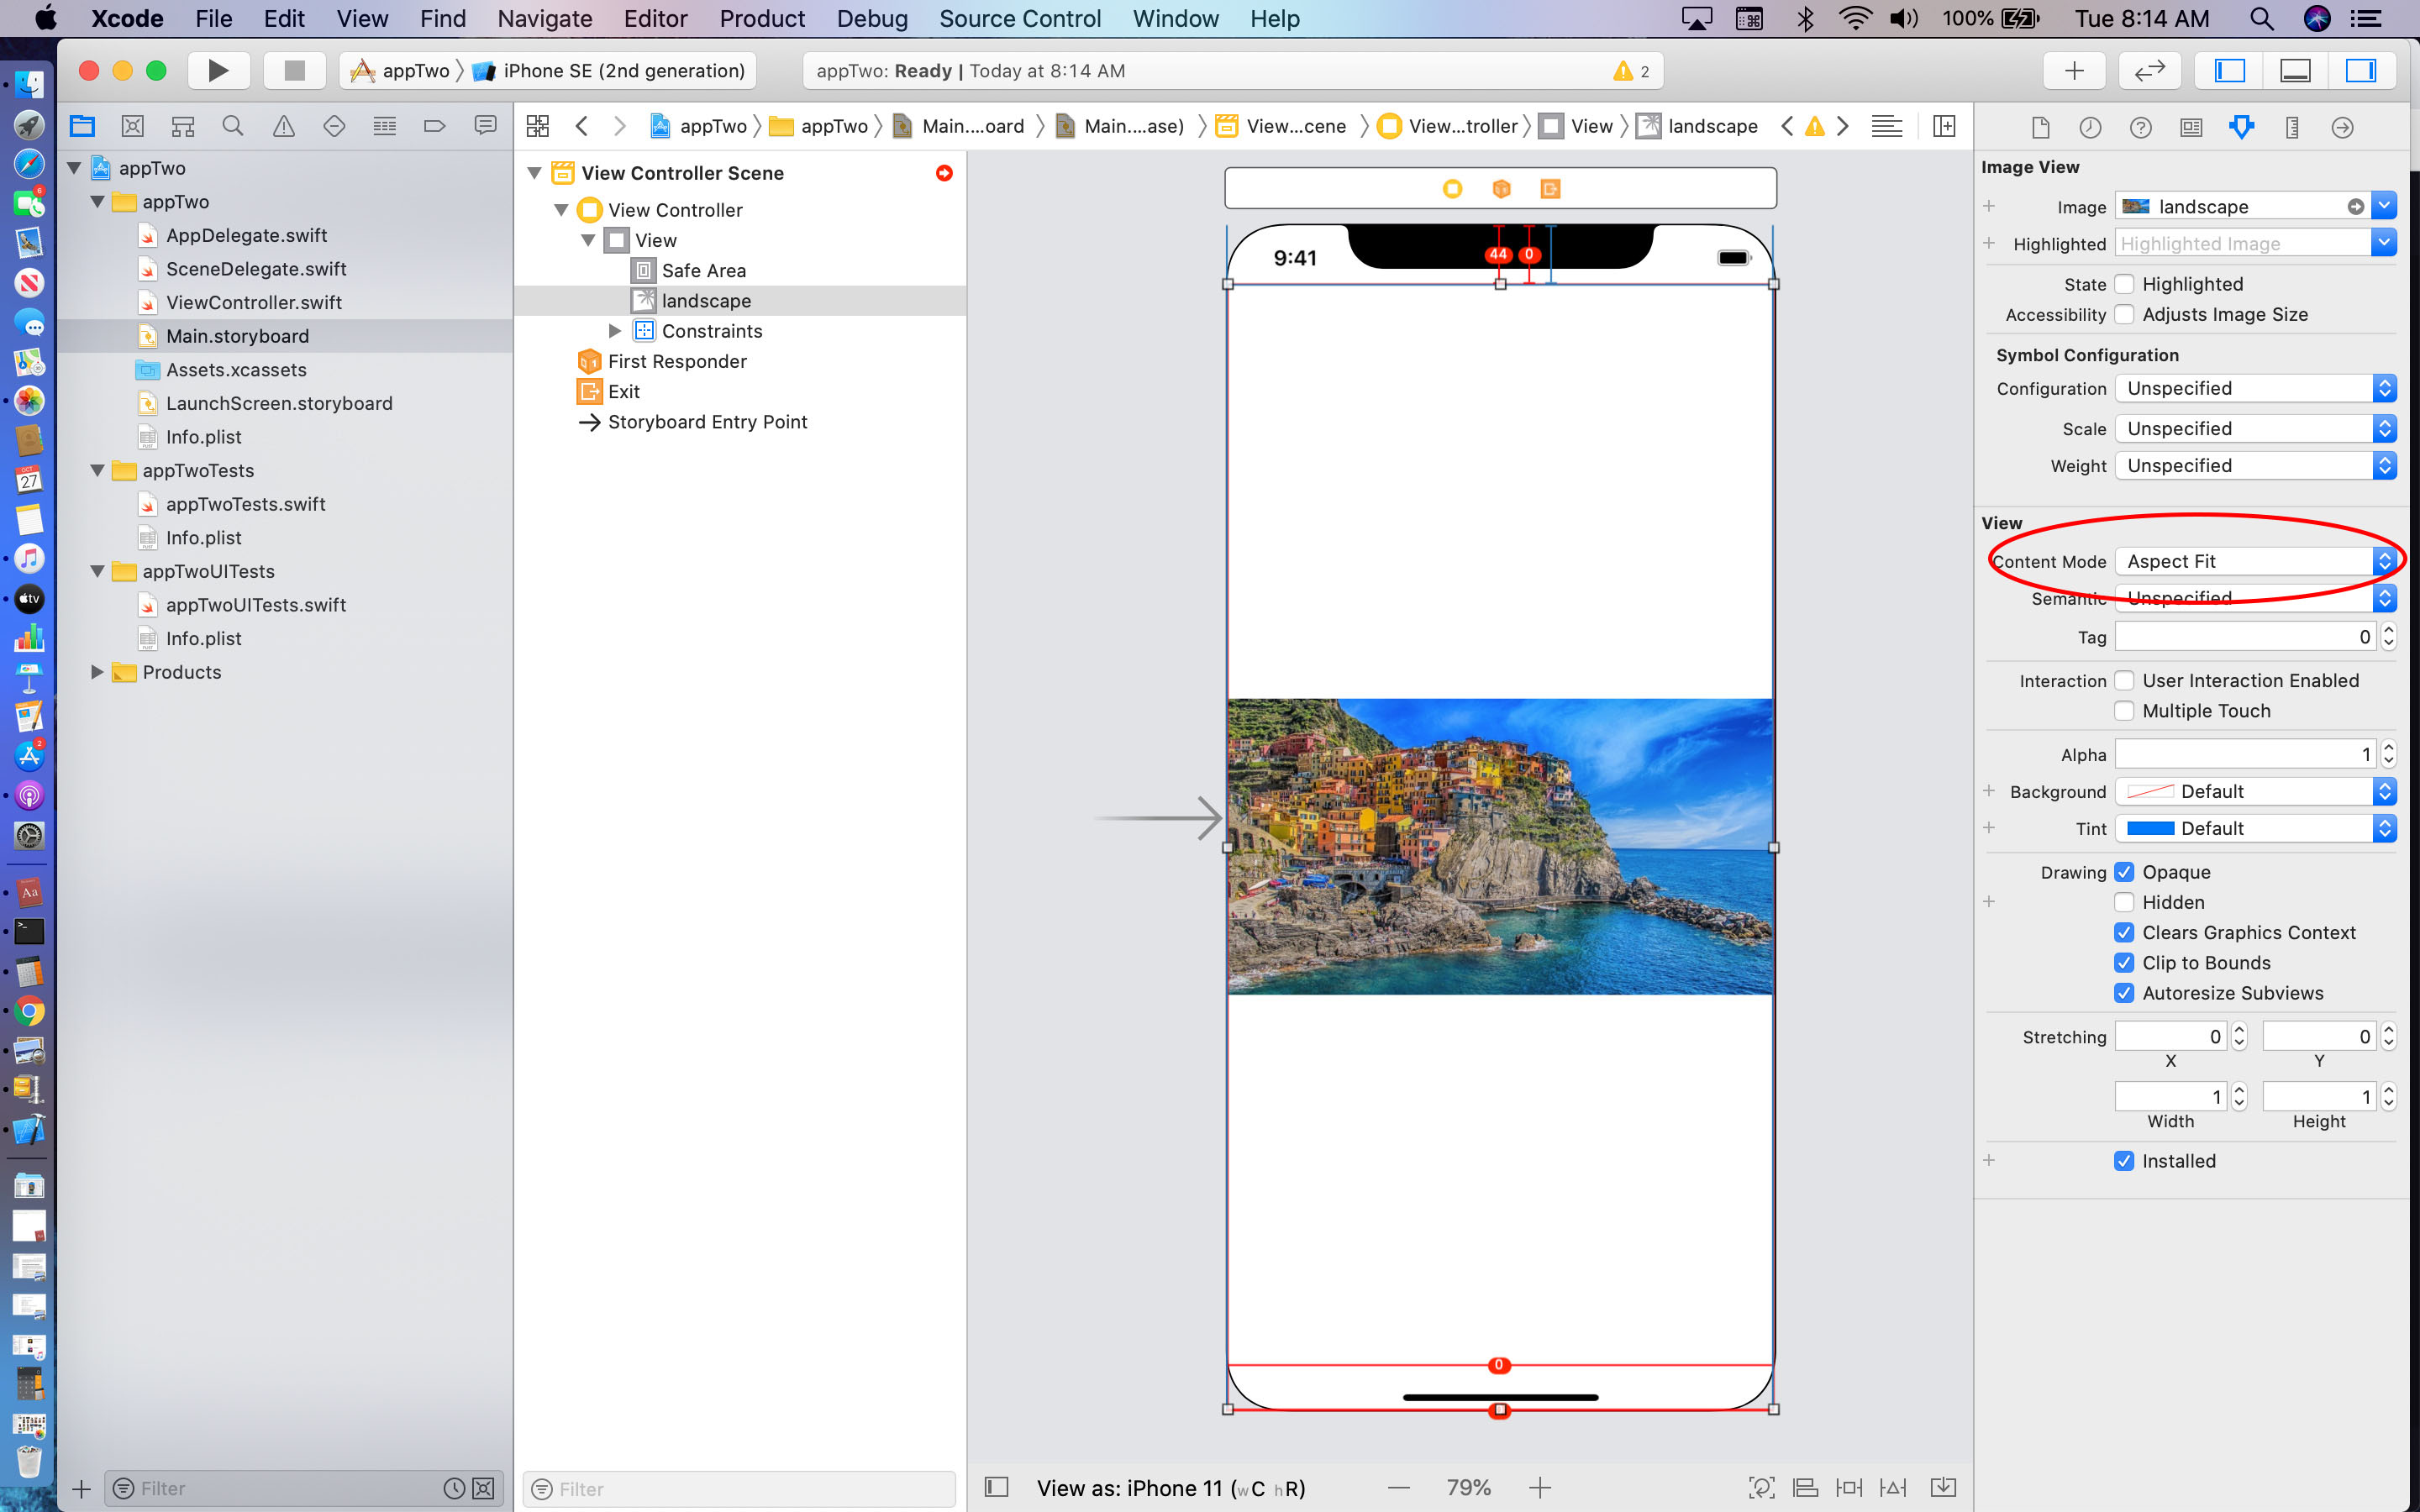
Change your Content Mode to Aspect Fill so that the image expands to “Fill” the available space.
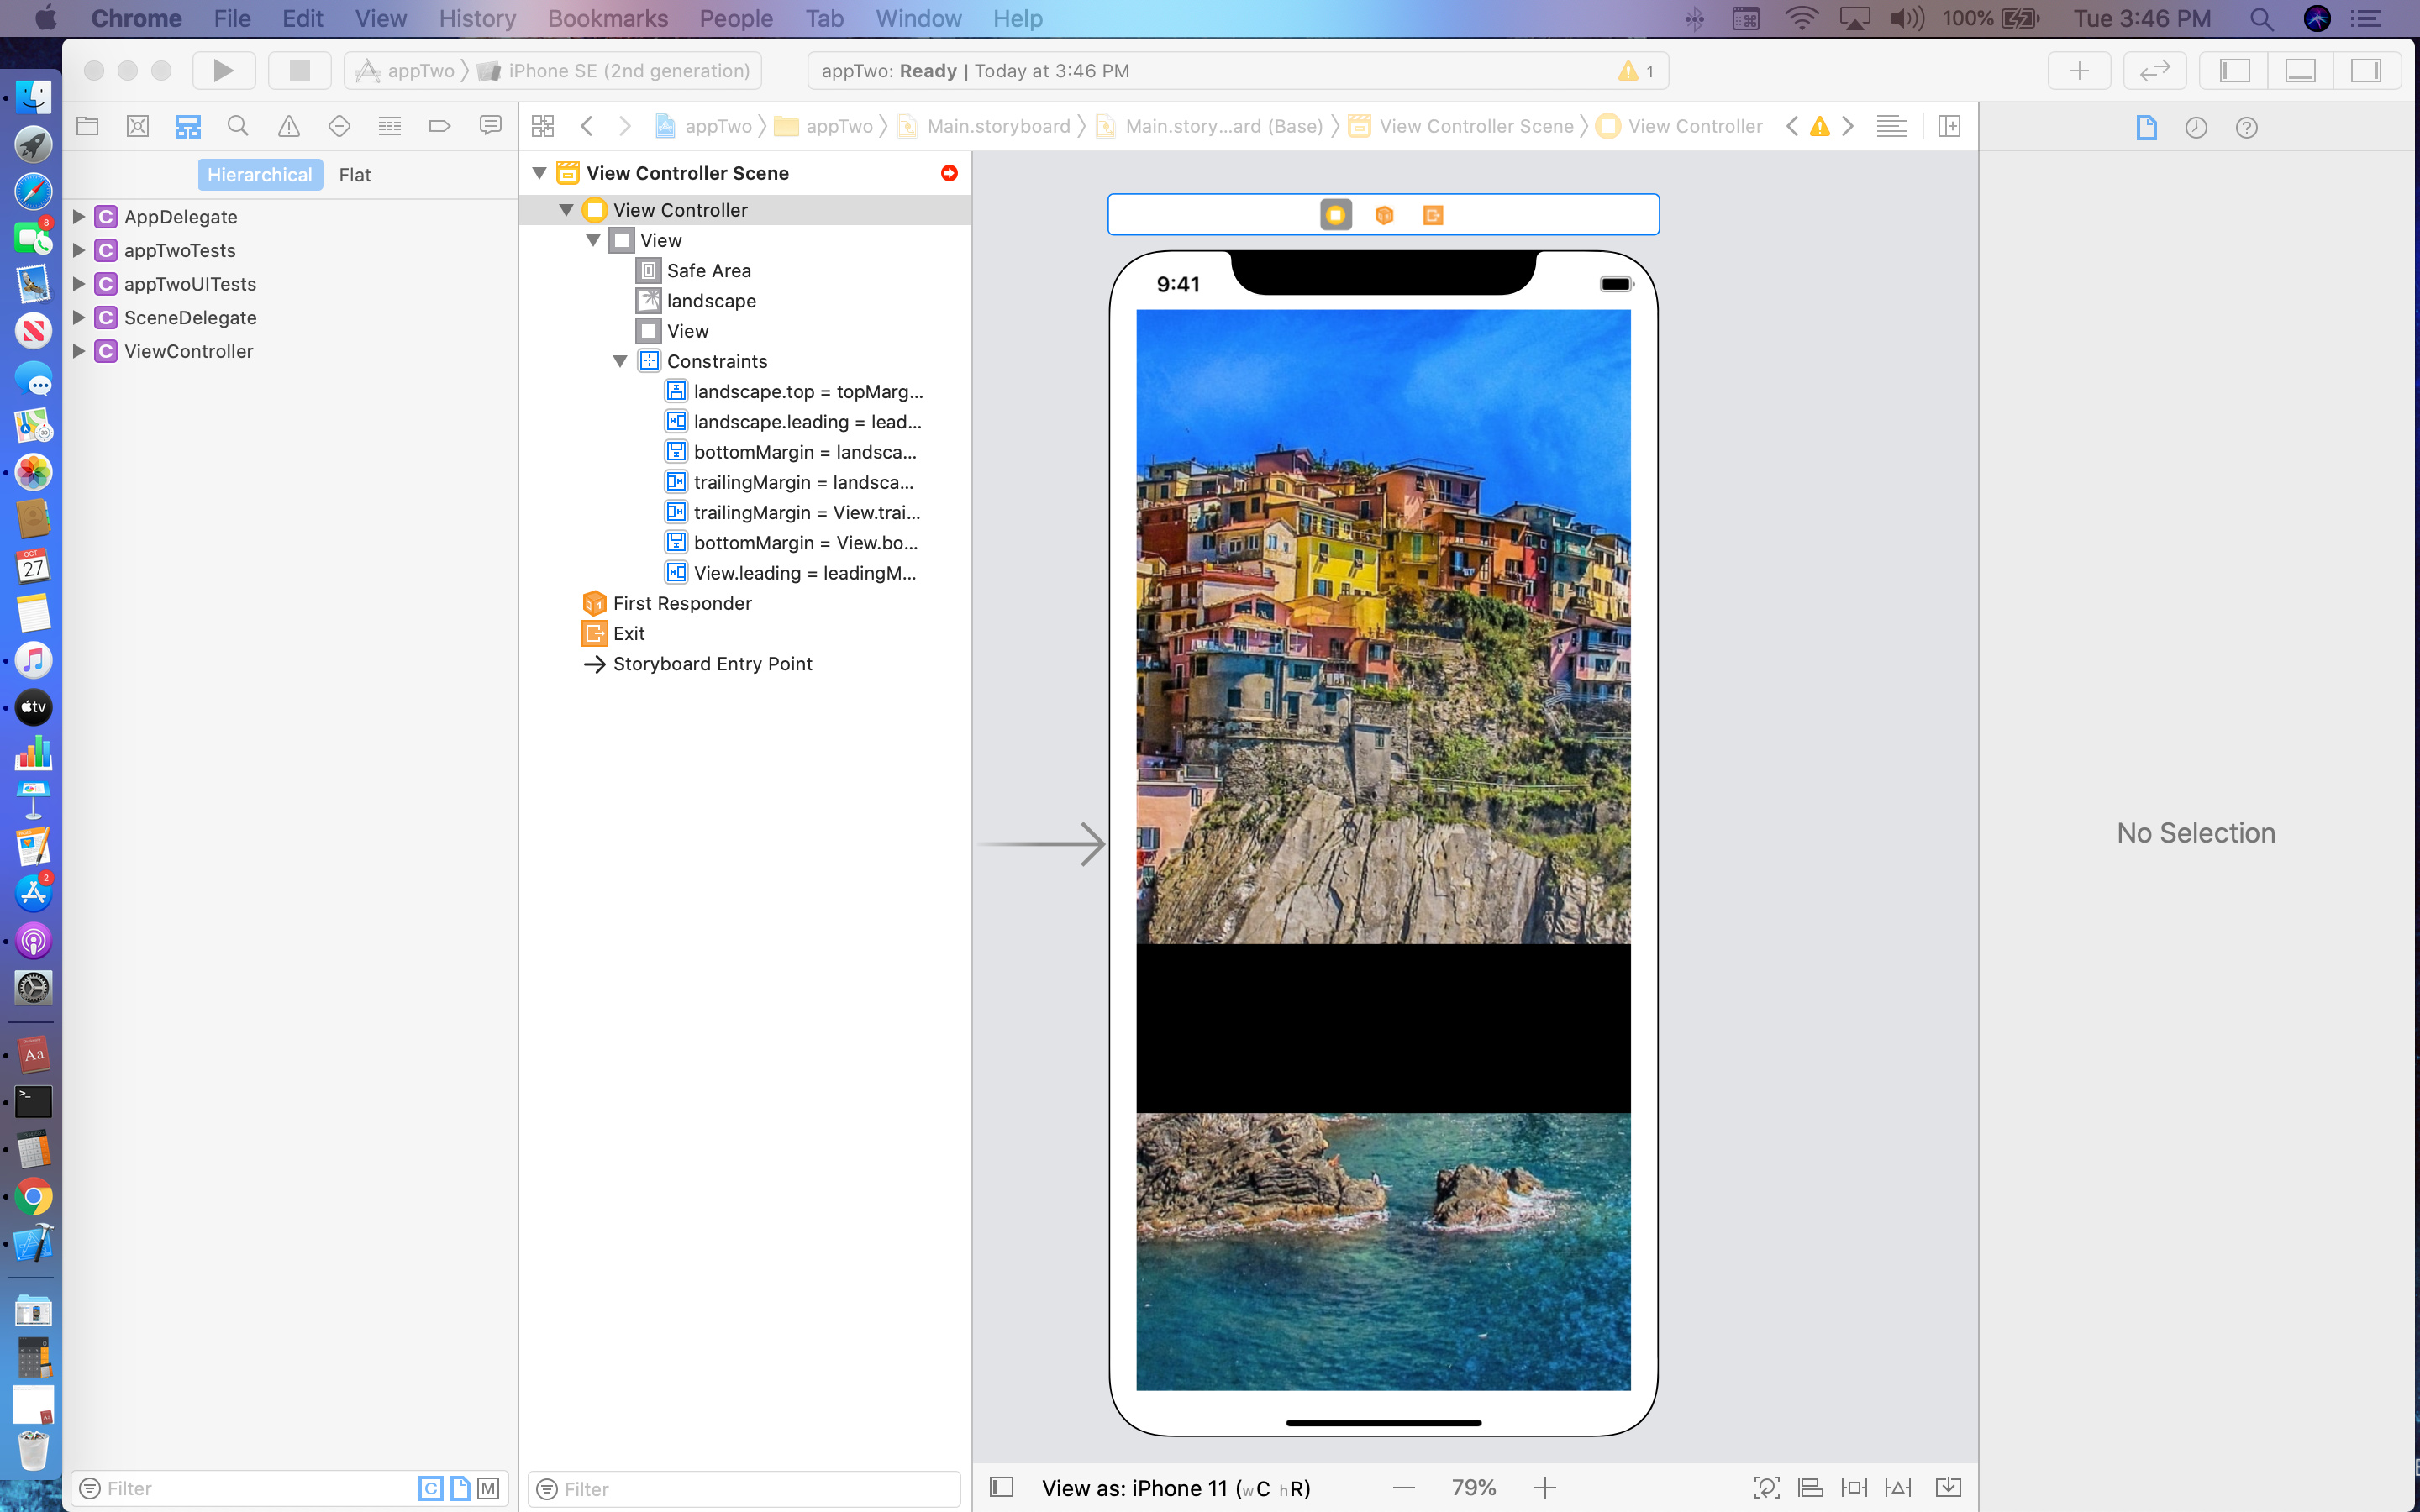
Be careful when adding constraints where they appear to not have worked and then you add additional constraints in an effort to fix the problem.
Constraints on top of Constraints do not work. It creates conflicting Constraints which Xcode cannot resolve.
What you have to do is delete the constraint you created initially from that item and reapply the correct constraint.
Thank you for you help. That seems to have solved a majority of my problems Im just having a problem getting my opacity for my black box for to lower itself so it is more transparent?? I apologize this lesson seems to have stumped me.
In the video, Chris does explain how to get the opacity set. You probably need to go back over that part of the tutorial.
You can go forward and back while watching the tutorial by tapping the left and right arrow. Each tap of the arrow key goes forward 5 seconds or back 5 seconds. It’s an easy way to jog through the video to find what you missed.
The other thing you have missed is that the constraints for the image should be right to the edge of the screen. What you have them set to is the Safe Area which is why it has the white border around the image.