I don’t know how to fix it. I’ve been using cwc for a month n a half, so im very confused.
1 Like
That’s just a warning, not an error. If you are following a tutorial on here, you can ignore that warning.
In iOS 16 Apple replaced NavigationView with NavigationStack and NavigationSplitView. NavigationView still works, and you must use it to support earlier iOS versions, but Apple may remove it in the future.
You are getting a warning because you are using NavigationView in your code. The only way to remove the warning is to replace NavigationView with NavigationStack or NavigationSplitView. But if the tutorial uses NavigationView, then keep using it and ignore the warning because the tutorial won’t tell you how to use the NavigationView replacements.
2 Likes
Yes! Like mentioned this is a warning. If you are brand new to SwiftUI and coding, I’d recommend not changing this and just live the warning for now, because the new Navigation APIs are different and can be confusing if you’re brand new
1 Like
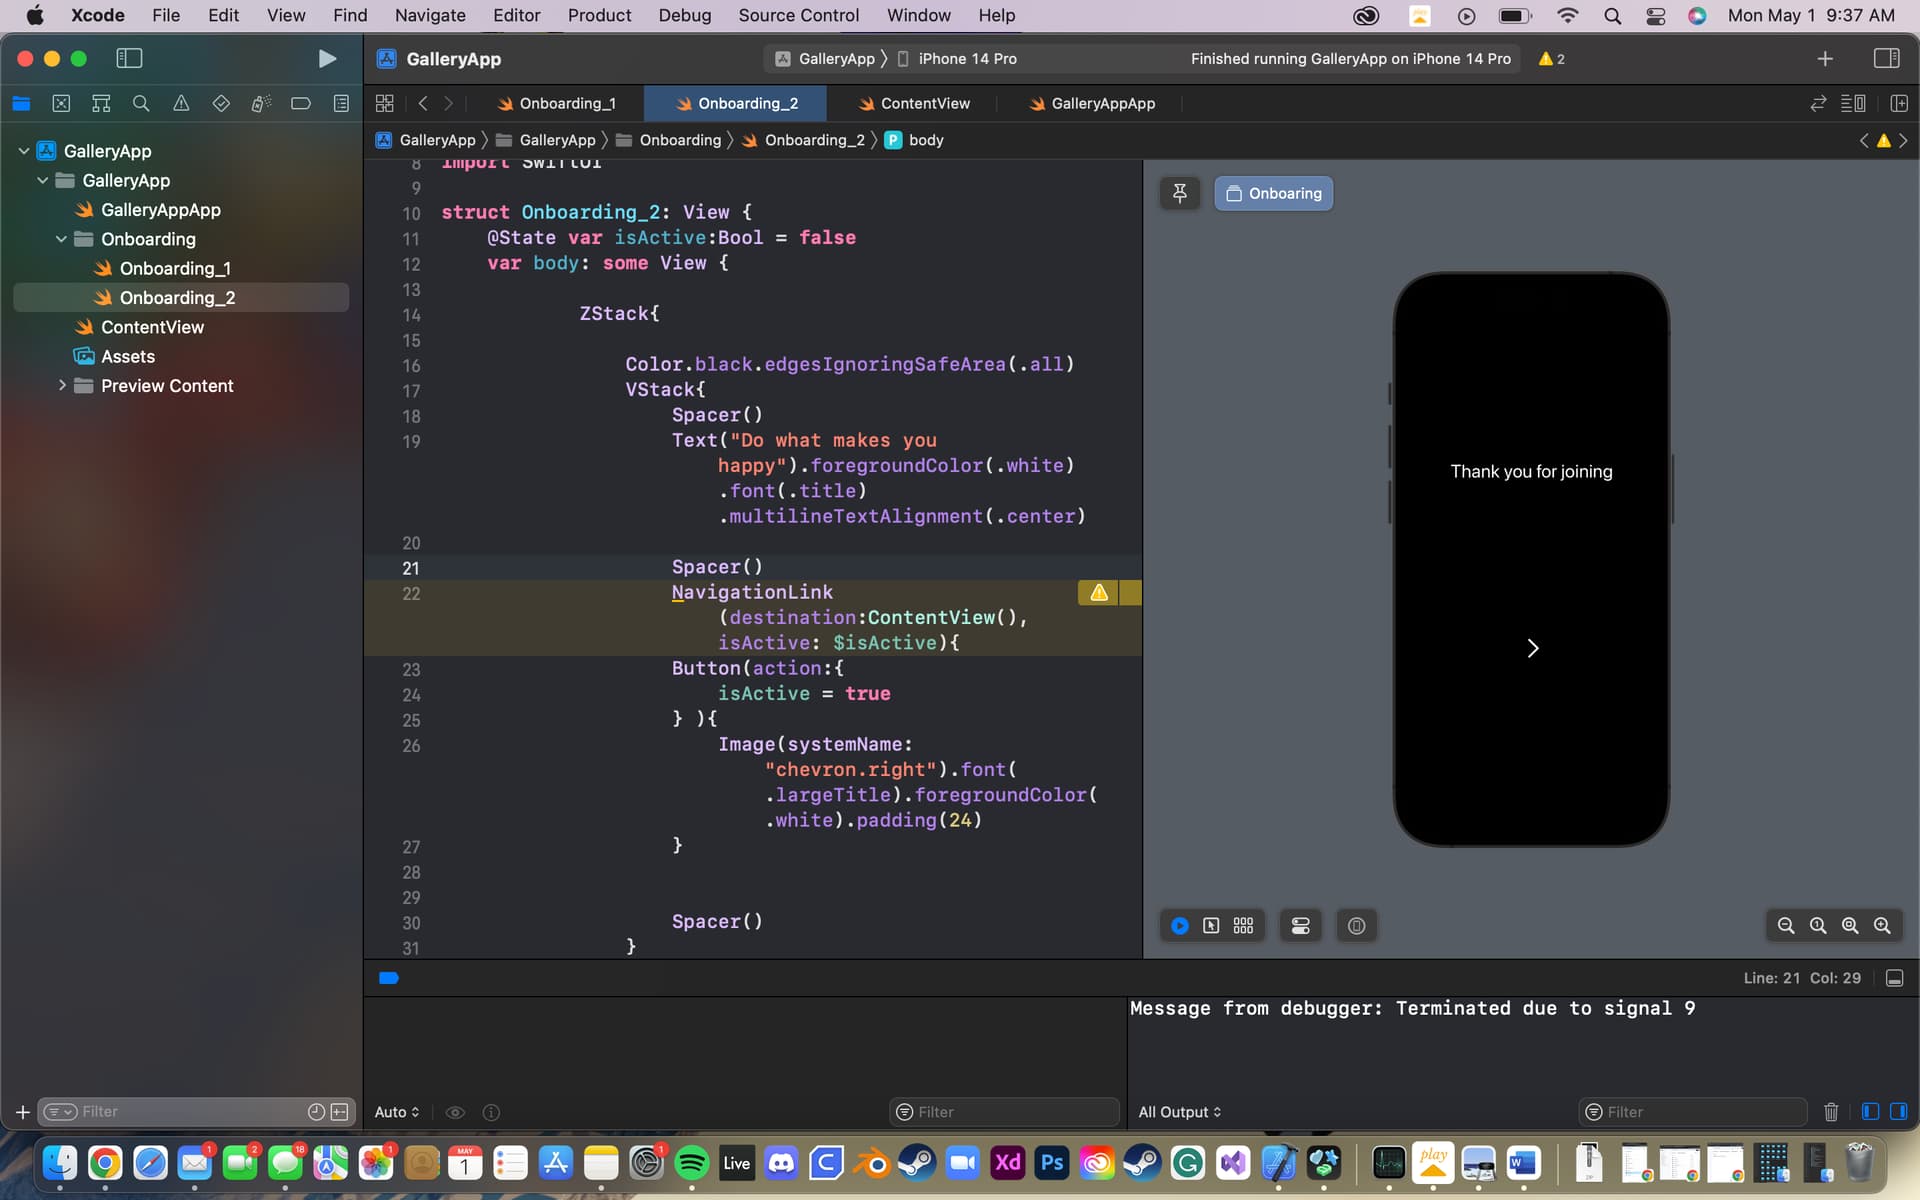
Your screenshot shows only two warnings and no errors.
In Xcode choose Product > Clean Build Folder and try running the project again. Either the error will go away, or there will be more errors than the “Command CompileSwiftSources failed with a nonzero exit code” error message. Those additional errors will show the real build errors in your code.
If there are any errors after cleaning the build folder, paste the error messages as text instead of showing a screenshot. When you paste a screenshot of your Xcode window, the text is really tiny and hard to read. Text is easier to read.
If you do have an error, can you paste the code where you create the navigation view? In the code you’ve shown, you have navigation links but no navigation view. You need a navigation view, navigation stack, or navigation split view to use navigation links. You should also provide a link to the specific tutorial you’re following so people here know what you’re trying to do.
1 Like
The error is failed with non zero exit code, but yeah cleaning the build folder could fix it
1 Like
If it continues, change NavigationView to NavigationStack, this is a new way to do it with extra features, but you can use it the same way you use NavigationView.
So to make it clear, type NavigationStack in place of NavigatonView and follow continue with the tutorial. This is what I’ve been doing.
1 Like
Not the exact same way, there’s some important differences, when using the older one, technically you would use NavigationView
1 Like
/Users/johnrodriguez/Library/Developer/Xcode/DerivedData/GalleryApp-awekifuuvcxhenfynzskonwwcjag/Build/Products/Debug-iphonesimulator/GalleryApp.app is not a valid path to an executable file.
That is correct. The App has to be loaded onto a simulator in order for it to work and that’s why you target a specific simulator to run the App on.
Have you tried the solutions offered by previous respondents?

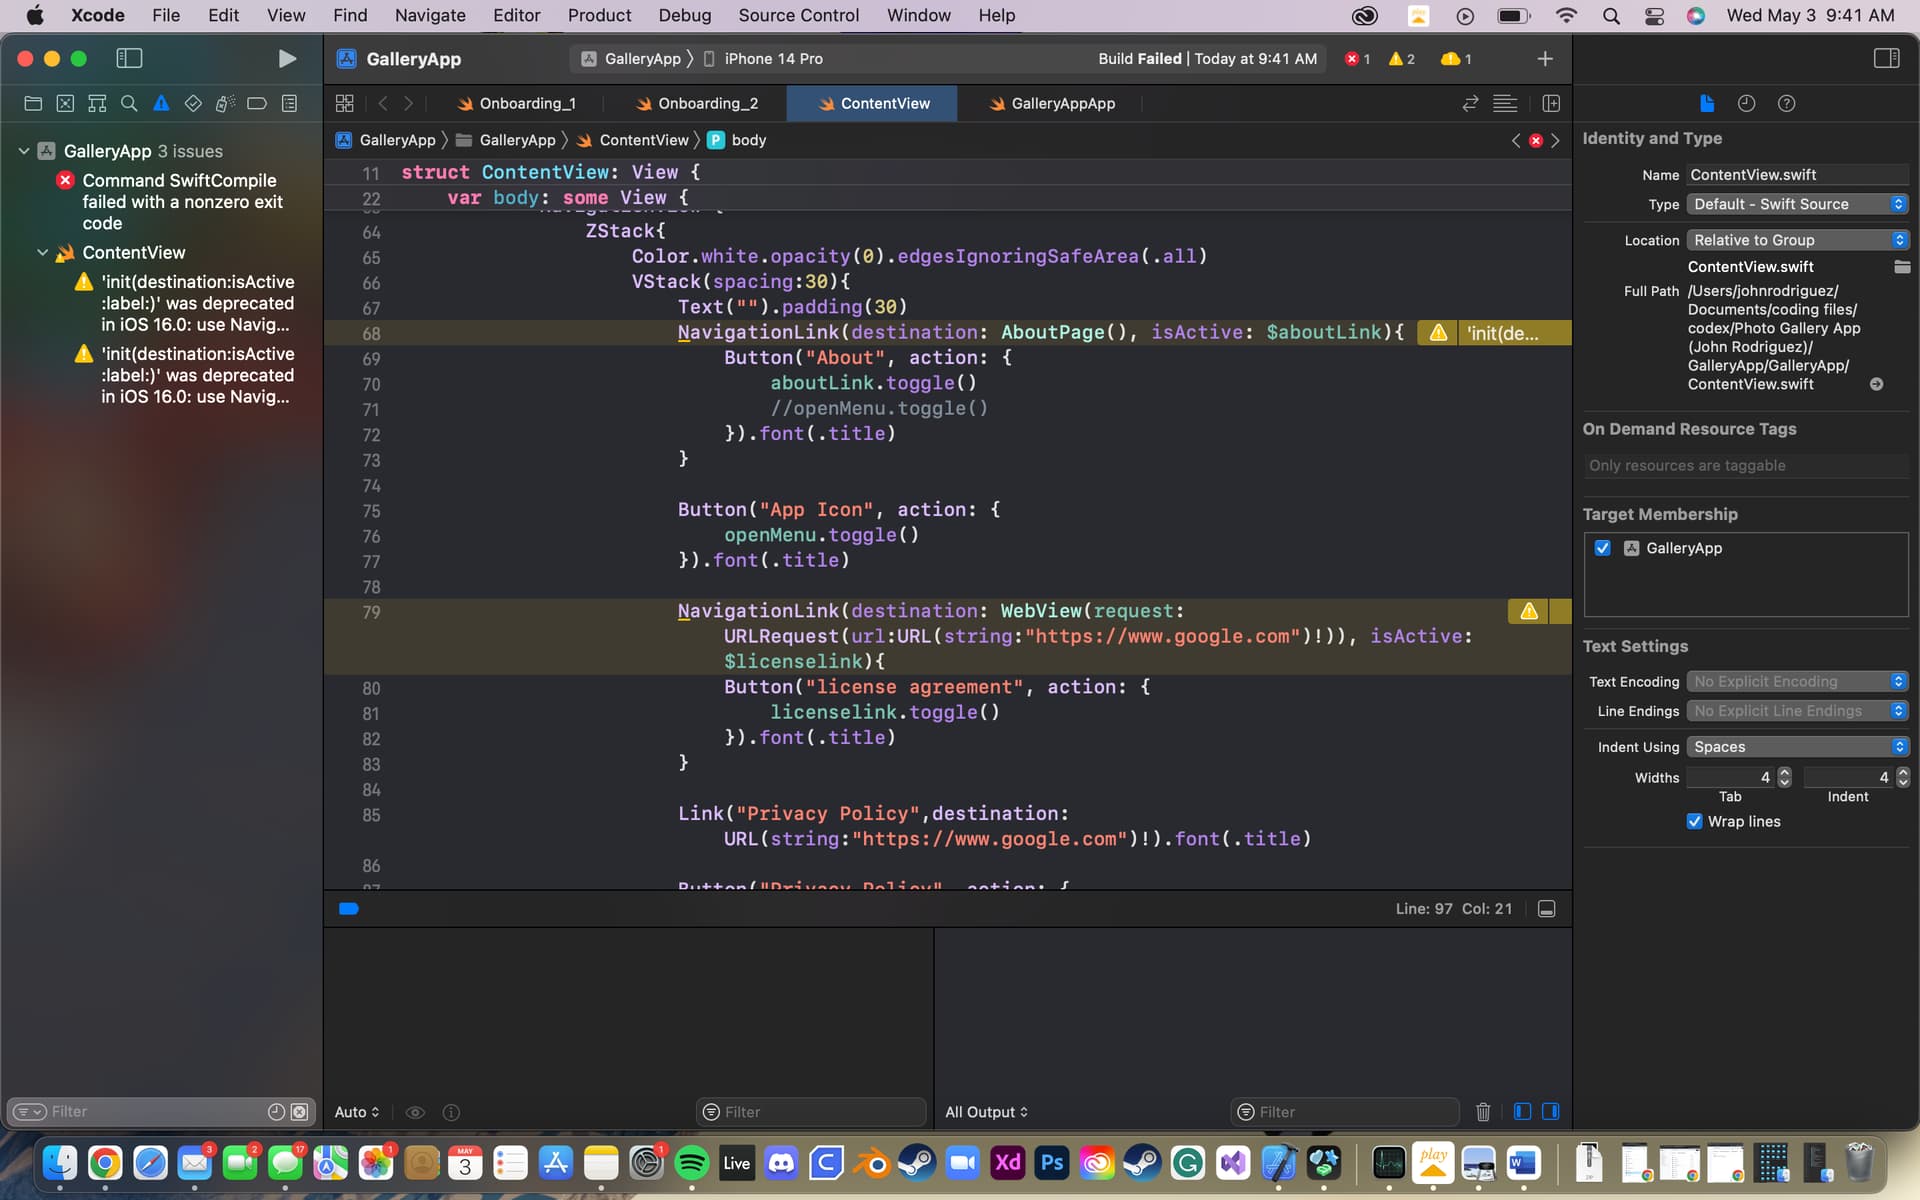
i tried the clean build folder but then i got that different error
The diagnostics are suggesting that there is something wrong in Onboarding_1. Can you copy the code from that file and paste in a reply.
Paste in all of your code in as text, rather than providing a screenshot.
To format the code nicely, place 3 back-ticks ``` on the line above your code and 3 back-ticks ``` on the line below your code. Like this:
```
Code goes here
```
The 3 back-ticks must be the ONLY characters on the line. The back-tick character is located on the same keyboard key as the tilde character ~ (which is located below the Esc key - QWERTY keyboard).
This also makes it easier for anyone assisting as they can copy the code and carry out some testing.
-------Alternative method-------
When you paste code in, paste it as text and then format it as a code block. To do that, select the code you just pasted in and then from the compose post toolbar tap the Pre-formatted text button which looks like this </>.
1 Like

Don’t. You do not need to make any changes from the tutorial because the API isn’t gone yet. Follow the tutorial and once you have a better understanding, find tutorials for using NavigationStack
1 Like
//
// Onboarding_1.swift
// GalleryApp
//
// Created by John Rodriguez on 4/28/23.
//
import SwiftUI
struct Onboarding_1: View {
@State var isactive:Bool = false
var body: some View {
NavigationView{
ZStack{
            Color.black.edgesIgnoringSafeArea(.all)
            VStack{
                Spacer()
                Text("Thank you for joining").foregroundColor(.white).font(.title).multilineTextAlignment(.center)

                Spacer()
                NavigationLink(destination:Onboarding_2(),isActive: $isactive){
                        Button(action:{
                            isactive = true
                        } ){
                            Image(systemName: "chevron.right").font(.largeTitle).foregroundColor(.white).padding(24)
                        }
                }
                Spacer()
            }
        }
        .navigationBarBackButtonHidden(true)
    }
}
}
struct Onboaring_1_Previews: PreviewProvider {
static var previews: some View {
Onboarding_1()
}
}
type or paste code here
```//
//  Onboarding_1.swift
//  GalleryApp
//
//  Created by John Rodriguez on 4/28/23.
//
import SwiftUI
struct Onboarding_1: View {
@State var isactive:Bool = false
var body: some View {
NavigationView{
ZStack{
Color.black.edgesIgnoringSafeArea(.all)
VStack{
Spacer()
Text("Thank you for joining").foregroundColor(.white).font(.title).multilineTextAlignment(.center)
Spacer()
                    NavigationLink(destination:Onboarding_2(),isActive: $isactive){
                            Button(action:{
                                isactive = true
                            } ){
                                Image(systemName: "chevron.right").font(.largeTitle).foregroundColor(.white).padding(24)
                            }
                    }
Spacer()
                }
            }
.navigationBarBackButtonHidden(true)
        }
    }
}
struct Onboaring_1_Previews: PreviewProvider {
static var previews: some View {
Onboarding_1()
}
}
i tried my best pasting the code in
All you need to do is place the 3 back-ticks in pairs around each complete block of code:
```
Block of multiple lines of code
```
```
Another block of multiple lines of code
```
```
Yet another block of multiple lines of code
```
Note that the 3 back-ticks must be the ONLY characters on the line.
1 Like
okay thank you
i dont see a NavigationView in his code all i see is NavigationLink. And even if its a warning, it won’t transition to the next screen