Hello Michael,
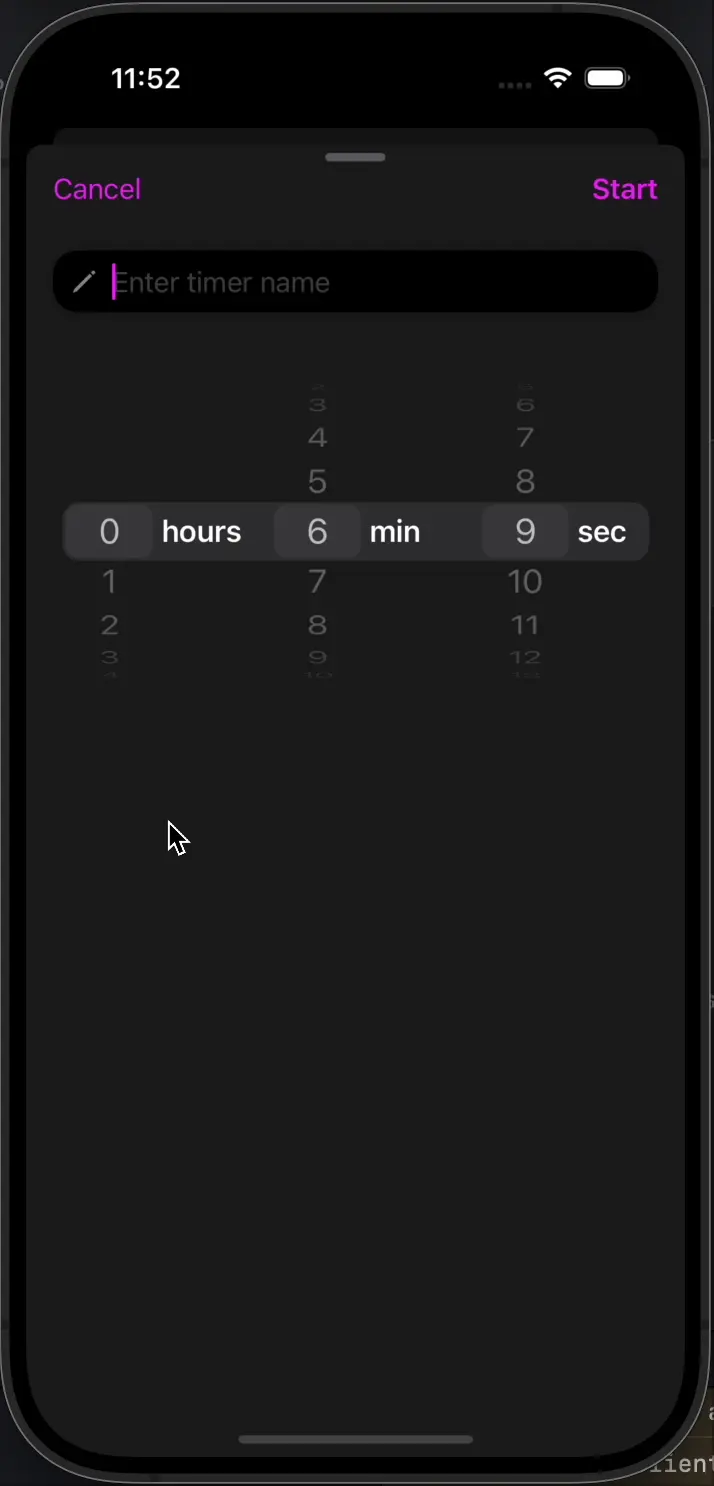
Great news! I think I’ve found a solution on avoiding the keyboard.
When you want to avoid the keyboard in SwiftUI, you have two options:
- Build a custom class, modifier or API to detect and do all the calculations.
- Let SwiftUI handle the calculations and just guide SwiftUI to suit your app.
Having experience trying these two options, I’d choose the second option as SwiftUI never calculates wrong, and why should we go through the hassle of building our own code when Apple engineers have prepared one for us?
So we’ll use SwiftUI and just guide it to suit our own app. First I’ll explain how SwiftUI’s keyboard avoidance works. When the keyboard shows, SwiftUI simply increases the bottom safe area to the size of the keyboard, so your view is compressed into the visible space above the keyboard.
This is also why you can find the modifier to ignore this feature as follows:
.ignoresSafeArea(.keyboard)
Note: this only works when your view has enough compressible space (by which I mean view objects like Spacer, Rectangle, …), to show all its content in the space above the keyboard, when your view has to much absolute space, SwiftUI will ignore this modifier.
Taking this into account, we can again choose between two approaches, when you have compressible space in your view layout, you can safely let SwiftUI do its thing, just keep in mind that your view will be compressed into the smaller space above the keyboard when it shows. The only headache with this approach is that there is no direct way of specifying the spacing between two objects, or I didn’t find one  . And this is where my solution comes into play, I’ve created a custom modifier which lets you specify a maximum frame which the compressible view object can occupy and a minimum frame to which this object can be compressed. The modifier uses SwiftUI’s Layout System to achieve this. Here is my code:
import SwiftUI

struct LimitFrame: Layout, ViewModifier {

    var maxWidth: CGFloat?
    var maxHeight: CGFloat?
    var minWidth: CGFloat?
    var minHeight: CGFloat?
    var alignment: Alignment

    func body(content: Content) -> some View {
        LimitFrame(maxWidth: maxWidth, maxHeight: maxHeight, minWidth: minWidth, minHeight: minHeight, alignment: alignment) {
            content
        }
    }

    func sizeThatFits(proposal: ProposedViewSize, subviews: Subviews, cache: inout ()) -> CGSize {
        guard subviews.count == 1, let content = subviews.first else {
            fatalError("LimitFrame can't have more than 1 subview.")
        }
        var result: CGSize = .zero

        // Define proposal with given max values
        let proposalWidth = numberBetween(max: maxWidth, min: minWidth, value: proposal.width ?? proposal.replacingUnspecifiedDimensions().width)
        let proposalHeight = numberBetween(max: maxHeight, min: minHeight, value: proposal.height ?? proposal.replacingUnspecifiedDimensions().height)
        let newProposal: ProposedViewSize = .init(width: proposalWidth, height: proposalHeight)

        // Ask required size
        let requiredSize = content.sizeThatFits(newProposal)

        // Compare required size with given values
        let width: CGFloat = numberBetween(max: maxWidth, min: minWidth, value: requiredSize.width)
        let height: CGFloat = numberBetween(max: maxHeight, min: minHeight, value: requiredSize.height)
        result = .init(width: width, height: height)

        // Return result
        return result
    }

    func placeSubviews(in bounds: CGRect, proposal: ProposedViewSize, subviews: Subviews, cache: inout ()) {
        guard subviews.count == 1, let content = subviews.first else {
            fatalError("LimitFrame can't have more than 1 subview.")
        }

        // Calculate leading and top constraints
        let dimensions = content.dimensions(in: .init(width: bounds.width, height: bounds.height))
        var xOffset: CGFloat {
            switch alignment.horizontal {
            case .leading:
                return 0
            case .trailing:
                return bounds.width
            default:
                return bounds.width / 2
            }
        }
        var yOffset: CGFloat {
            switch alignment.vertical {
            case.top:
                return 0
            case .bottom:
                return bounds.height
            default:
                return bounds.height / 2
            }
        }

        let leading = bounds.minX + xOffset - dimensions[alignment.horizontal]
        let top = bounds.minY + yOffset - dimensions[alignment.vertical]

        // Place the content at that position with the bounds as its proposed size
        content.place(at: .init(x: leading, y: top), anchor: .topLeading, proposal: .init(width: bounds.width, height: bounds.height))
    }

    func numberBetween(max maxValue: CGFloat?, min minValue: CGFloat?, value: CGFloat) -> CGFloat {
        let maxLimit = maxValue ?? .infinity
        let minLimit = minValue ?? .zero

        return min(maxLimit, max(value , minLimit))
    }
}

extension View {
    /// Limits the frame to be within the specified range.
    func limitFrame(maxWidth: CGFloat? = nil, maxHeight: CGFloat? = nil, minWidth: CGFloat? = nil, minHeight: CGFloat? = nil, alignment: Alignment = .center) -> some View {
        modifier(LimitFrame(maxWidth: maxWidth, maxHeight: maxHeight, minWidth: minWidth, minHeight: minHeight, alignment: alignment))
    }

    @available(*, deprecated, message: "Please specify at least one parameter other than alignment.")
    func limitFrame(alignment: Alignment = .center) -> some View {
        modifier(LimitFrame(alignment: alignment))
    }
}
If you’d like to learn more about the layout system in SwiftUI, you can watch this video by Paul Hudson, or if you’d like I’d also be happy to break it down for you.
We can also still use the second option, which you’d use when you can’t use or don’t want to use compressible space. You can put your view inside a ScrollView, and SwiftUI will automatically scroll to where the focused text field is shown. This works because ScrollView works with 2 layers, the first layer which it uses to position itself between other view objects, and the second layer in which it renders its child views. The second layer isn’t limited by the bounds of the first layer and therefore won’t be compressed when the keyboard shows, only the first layer will be compressed.
Hope this might help you on a later date, and if you don’t understand something please do say so!
Greetings, Rune
![]() . Originally I put the spacing there to show that the title “Have a Mac” is a subgoal to accomplish and the card contains the plan to achieve it. But it might be better to let go of this idea to avoid confusion.
. Originally I put the spacing there to show that the title “Have a Mac” is a subgoal to accomplish and the card contains the plan to achieve it. But it might be better to let go of this idea to avoid confusion.