I am trying to make a text field that takes user input and stores it to a variable. I want to connect it to a button that when tapped takes me to a new screen.
Hi @zaid
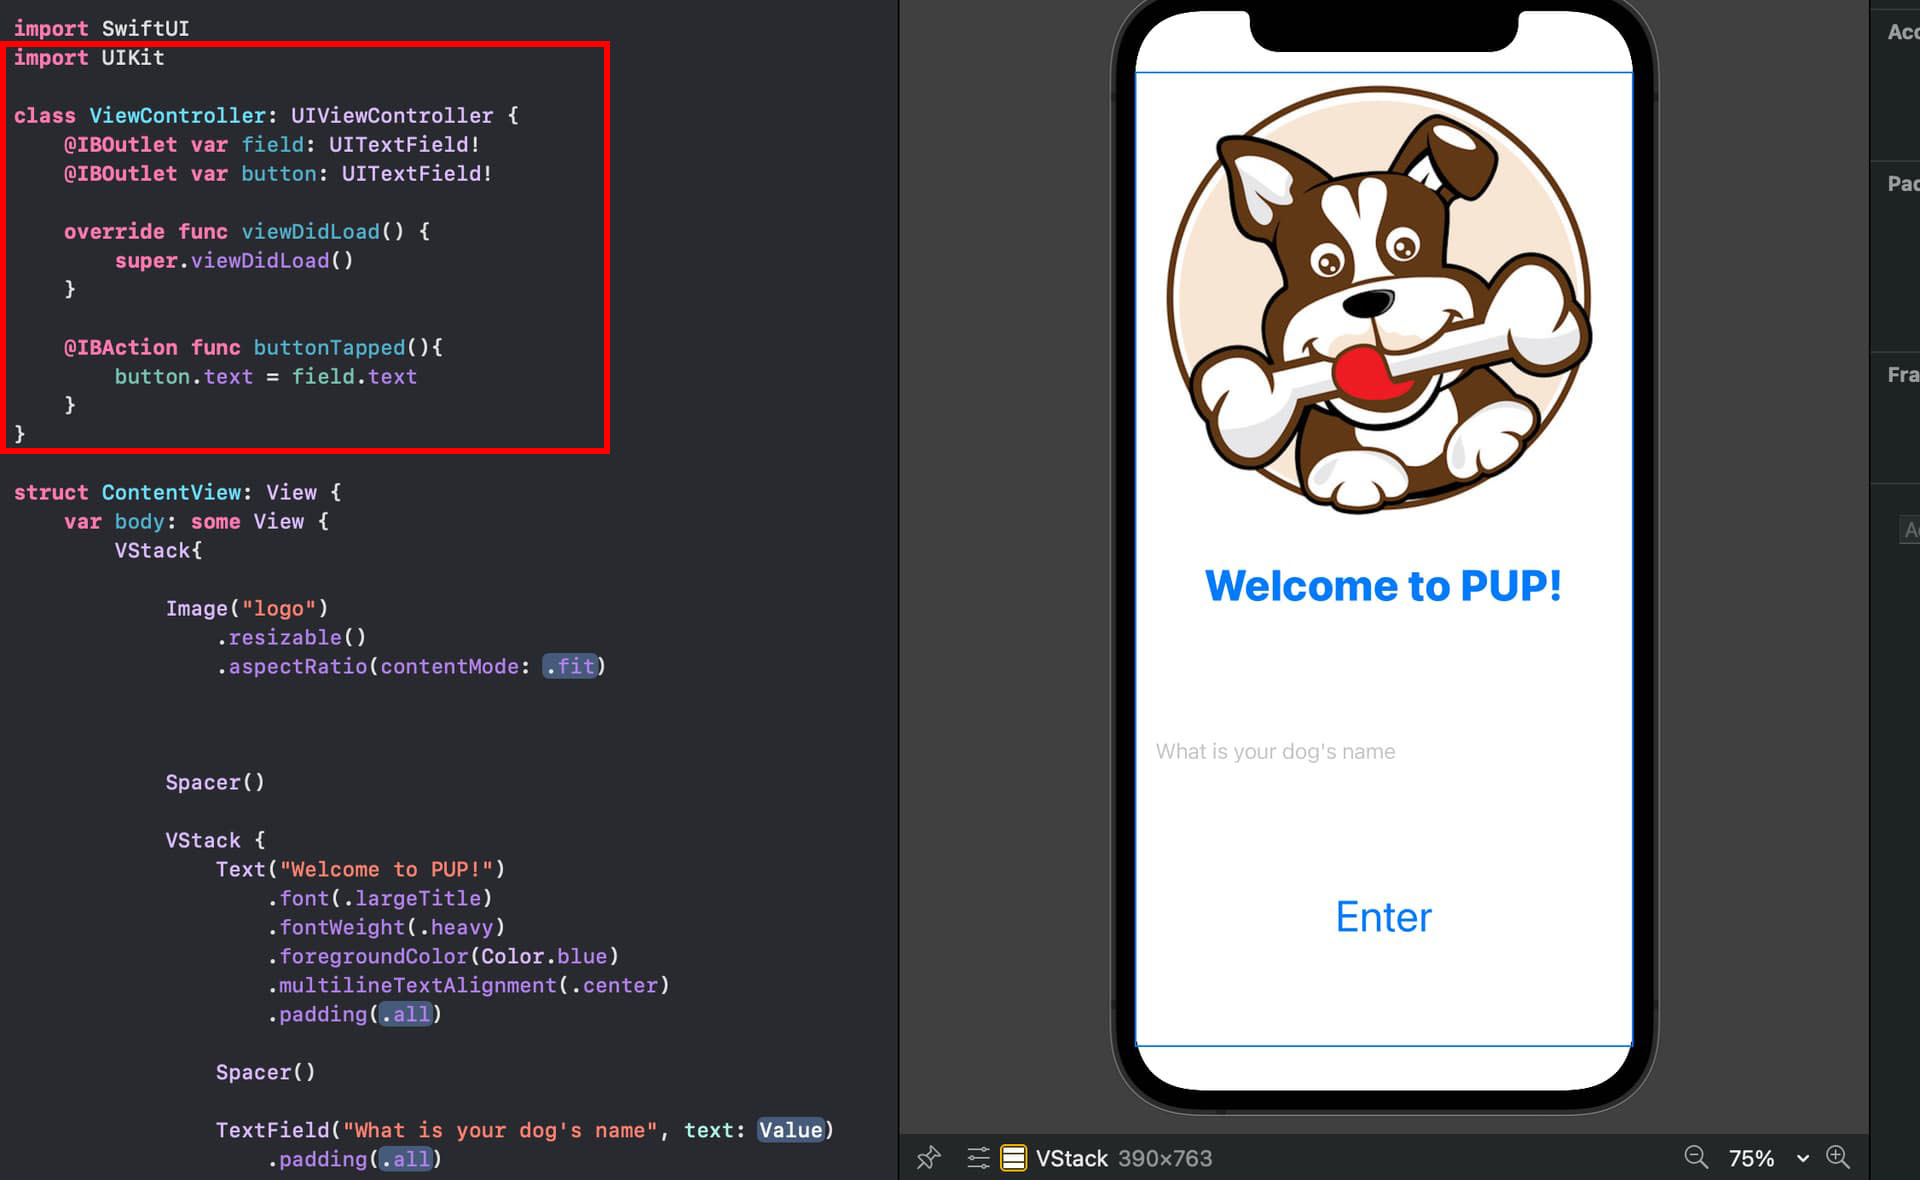
With reference to the attached image, you cannot do what you are attempting to do by incorporating UIKIt and a ViewController in that manner. The two are entirely unrelated.
Can you paste in your ContentView code in a reply.
Paste your code in as text.
To format the code nicely, place 3 back-ticks ``` on the line above your code and 3 back-ticks ``` on the line below your code. Like this:
```
Code goes here
```
The 3 back-ticks must be the ONLY characters on the line. The back-tick character is located on the same keyboard key as the tilde character ~ (which is located below the Esc key). You can also highlight an entire code block and click the </> button on the toolbar to wrap the block for you.
This also makes it easier for anyone assisting as they can copy the code and carry out some testing.
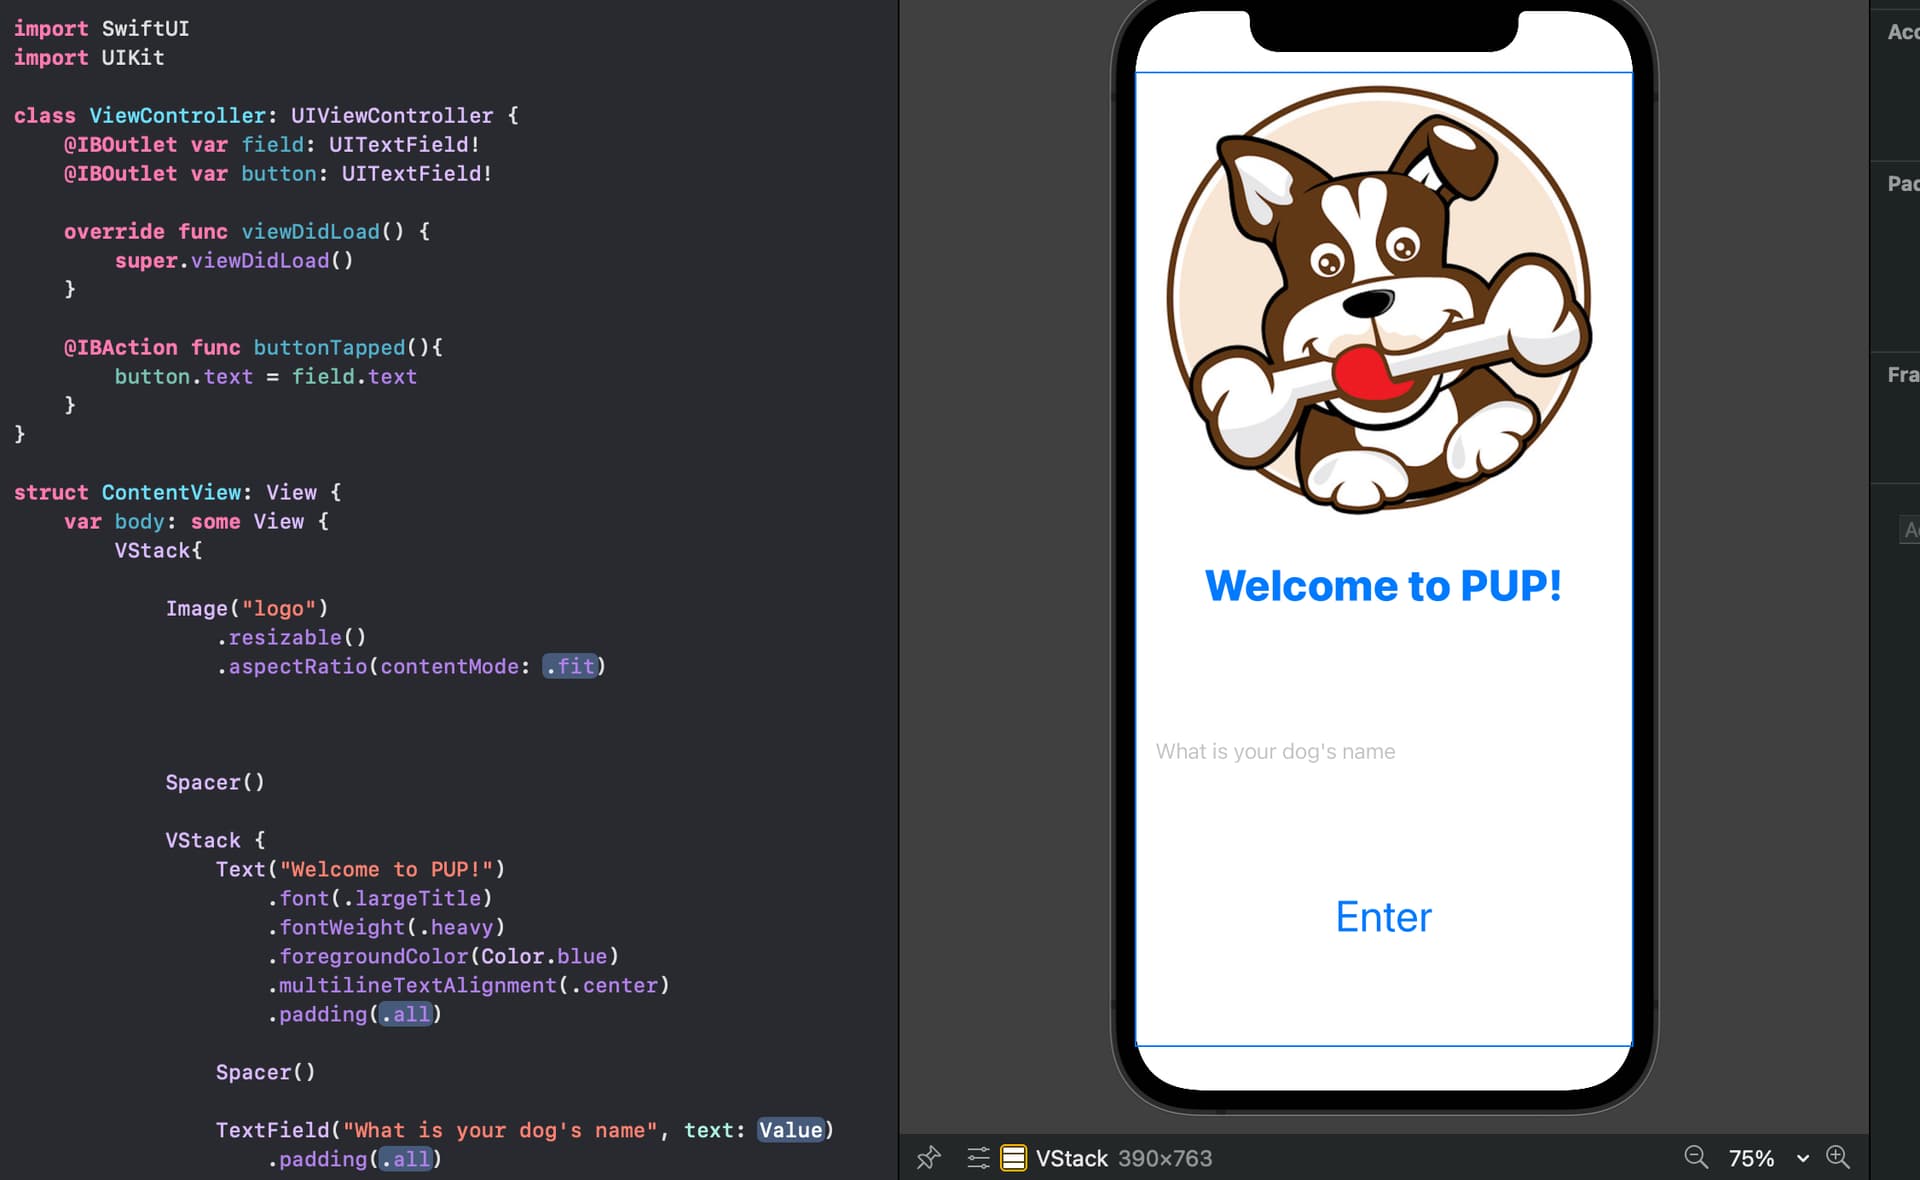
struct ContentView: View {
    var body: some View {
        VStack{

            Image("logo")
                .resizable()
                .aspectRatio(contentMode: /*@START_MENU_TOKEN@*/.fit/*@END_MENU_TOKEN@*/)


            Spacer()

            VStack {
                Text("Welcome to PUP!")
                    .font(.largeTitle)
                    .fontWeight(.heavy)
                    .foregroundColor(Color.blue)
                    .multilineTextAlignment(.center)
                    .padding(/*@START_MENU_TOKEN@*/.all/*@END_MENU_TOKEN@*/)

                Spacer()

                TextField("What is your dog's name", text: /*@START_MENU_TOKEN@*//*@PLACEHOLDER=Value@*/.constant("")/*@END_MENU_TOKEN@*/)
                    .padding(/*@START_MENU_TOKEN@*/.all/*@END_MENU_TOKEN@*/)


                Spacer()

                Button("Enter") {
                    /*@START_MENU_TOKEN@*//*@PLACEHOLDER=Action@*/ /*@END_MENU_TOKEN@*/
                }
                .padding(/*@START_MENU_TOKEN@*/.all/*@END_MENU_TOKEN@*/)
                .background(/*@START_MENU_TOKEN@*//*@PLACEHOLDER=View@*/Color.white/*@END_MENU_TOKEN@*/)
                .font(/*@START_MENU_TOKEN@*/.largeTitle/*@END_MENU_TOKEN@*/)
                Spacer()


            }


        }

    }
}
I’m sorry, this was my first time asking for help on this form. I have been looking at websites online like stack overflow but they all mention the class ViewController and it is kind of new to me since I just finished the 14 days beginner challenge. I am open to any advice you could have.
No need to apologise. Feel free to ask as many questions as you like.
It’s great that you have tried to find solutions via stack overflow. Using that forum is a leaning process on its own. You will learn how to phrase your questions better over time.
Had you asked “Presenting another View in SwiftUI” you may have gotten some answers closer to what you needed.It’s a skill that you really do need although we are happy to help newcomers on this Code Crew forum so don’t be afraid to ask questions on any topic if you can’t find answers on line.
To answer your question about presenting anther view you might take a look at this simple example using your code as the basis of the exercise.
ContentView (including the Preview):
struct ContentView: View {
    @State private var dogsName = ""
    @State private var isShowingSecondView = false

    var body: some View {
        VStack{

            Image("logo")
                .resizable()
                .aspectRatio(contentMode: .fit)

            Spacer()

            VStack {
                Text("Welcome to PUP!")
                    .font(.largeTitle)
                    .fontWeight(.heavy)
                    .foregroundColor(Color.blue)
                    .multilineTextAlignment(.center)
                    .padding()

                Spacer()

                TextField("What is your dog's name", text: $dogsName, onCommit: {
                    isShowingSecondView = true
                })
                    .padding(.all)

                Spacer()

                Button {
                    isShowingSecondView = true
                } label: {
                    ZStack {
                        RoundedRectangle(cornerRadius: 10)
                            .fill(Color.green)
                        Text("Enter")
                            .foregroundColor(.white)
                        .font(.largeTitle)
                    }
                    .frame(width: 250, height: 55)
                }
                Spacer()
            }
        }
        .fullScreenCover(isPresented: $isShowingSecondView) {
            SecondView(isShowingSecondView: $isShowingSecondView, dogsName: dogsName)
        }
    }
}

struct ContentView_Previews: PreviewProvider {
    static var previews: some View {
        ContentView()
    }
}
SecondView (including the Preview):
struct SecondView: View {
    @Binding var isShowingSecondView: Bool
    var dogsName: String

    var body: some View {
        VStack(spacing: 20) {
            Text("Second View")

            Text("Your Pups name is: \(dogsName)")

            Button("Dismiss") {
                isShowingSecondView = false
            }
        }
    }
}

struct SecondView_Previews: PreviewProvider {
    static var previews: some View {
        SecondView(isShowingSecondView: .constant(true), dogsName: "Barney")
    }
}
Hello,
So I figured out how to send notifications out and linked them to the button in the menu list. I have one already set and working as a demo where I get a notification after 5 seconds. But I have two other buttons I am trying to code notifications for but I need them to come out at a specific time. How can I schedule it to notify me based on time in real life?
                VStack(spacing: 20) {
                        Text("This app needs your permission to send out notifications")
                        .font(.subheadline)
                        .fontWeight(.semibold)
                        .foregroundColor(Color.black)
                        .padding(/*@START_MENU_TOKEN@*/.all/*@END_MENU_TOKEN@*/)
                    Button("Request Permission") {
                        UNUserNotificationCenter.current().requestAuthorization(options: [.alert, .badge, .sound]) { success, error in
                            if success {
                                print("All set")

                            }else if let error = error{
                                print(error.localizedDescription)
                            }
                        }
                    }


                    Text("Choose a suitable feeding schedule for \(dogsName)")
                        .font(.headline)
                        .fontWeight(.semibold)
                        .multilineTextAlignment(.center)
                        .padding(/*@START_MENU_TOKEN@*/.all/*@END_MENU_TOKEN@*/)


                    Menu("Feeding Schedules") {
                        Button("Demo") {
                            let content = UNMutableNotificationContent()
                            content.title = "Feed \(dogsName)"
                            content.sound = UNNotificationSound.default

                            let trigger = UNTimeIntervalNotificationTrigger(timeInterval: 5, repeats: false)

                            let request = UNNotificationRequest(identifier: UUID().uuidString, content: content, trigger: trigger)

                            UNUserNotificationCenter.current().add(request)

                        Button {
                           // notification
                        } label: {
                            Text("Busy: 9AM-9PM")
                        }

                        Button {
                            //notification
                        } label: {
                            Text("Demo")
                        }

                    }