Hi Chris,
I spent at least 4 hours today on Google, and saw lots of examples, but like you said you can’t change the NavigationView appearance from other views (child views), or at least I can’t see how to do it.
In Objective C I think you could force redrawing.
So, I am still unable to change the Text foregroundColor, but I did manage from the child view to change the backgroundColor by adding a modifier.
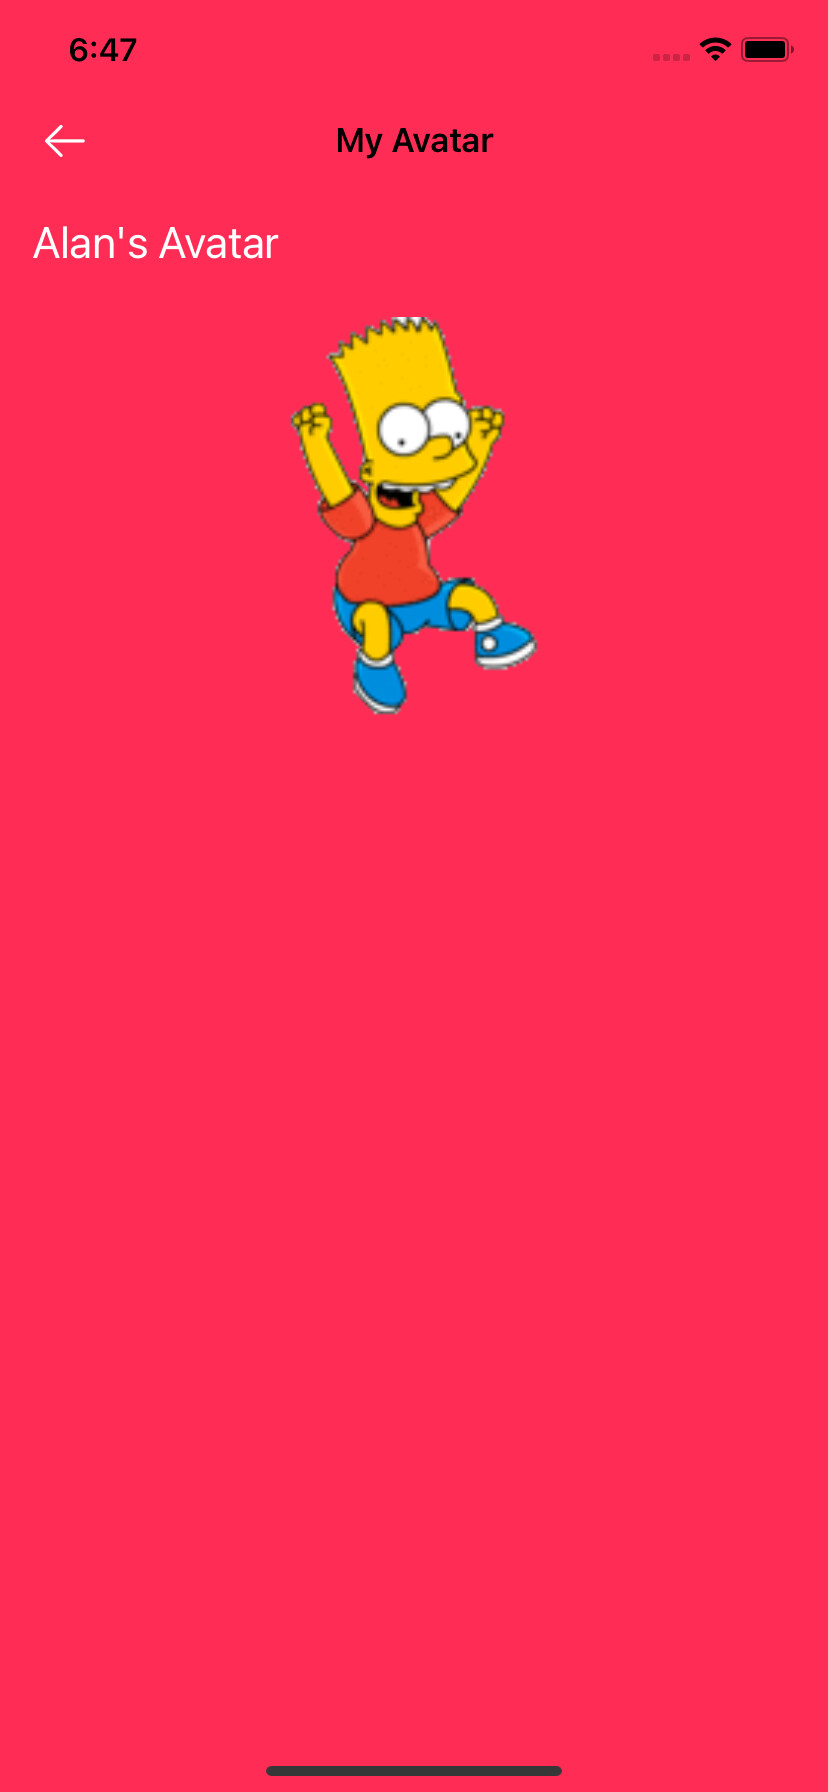
so I went on successfully modifying a class I found to place a “Text” in the middle of the NavigationBar.
Over the top in ZStack.
Sort of works
struct AvatarScreen: View {
   let index: Int
   @ObservedObject var dataViewModel: webServices = webServices()
   @Environment(\.presentationMode) var presentation

   let statusBarModifier = NavigationBarModifier(backgroundColor: .blue, navTitle: "My Avatar")
  //   let statusBarModifier = NavigationBarModifier(backgroundColor: .blue, navTitle: "WS Example")

   init(index: Int, dataViewModel: webServices) {
       self.index = index
   }

   var body: some View {
       if dataViewModel.myTestArrayRX.firstIndex(where: {$0.id == index}) != nil {
           ZStack {
               Color.pink
                   .ignoresSafeArea()

               VStack {
                   HStack {
                       Text(dataViewModel.myTestArrayRX[index].firstName + "'s Avatar")
                           .font(.title2)
                           .foregroundColor(.white)
                           .padding([.top, .leading, .bottom])

                       Spacer()
                   }

                   AsyncImage(url: URL(string:dataViewModel.myTestArrayRX[index].avatar)) { image in
                       image
                           .resizable()
                           .aspectRatio(contentMode: .fill)
                           .frame(width:200, height:200)
                   } placeholder: {
                       ProgressView()
                   }


                   Spacer()

               }

               //.navigationTitle("My Avatar")
               .modifier(statusBarModifier)
               .navigationBarBackButtonHidden(true)
               .navigationBarItems(leading: Button(action : {
                   self.presentation.wrappedValue.dismiss()
               }){
                   Image(systemName: "arrow.left")
                       .foregroundColor(Color.white)
               })
           }
       }
   }
}
Here is the class/struct for it :
struct NavigationBarModifier: ViewModifier {

    var backgroundColor: UIColor?
    var navTitle: String

    init( backgroundColor: UIColor?, navTitle: String) {
        self.backgroundColor = backgroundColor
        self.navTitle = navTitle

      // Only works on the root view
        let coloredAppearance = UINavigationBarAppearance()
        coloredAppearance.configureWithTransparentBackground()
        coloredAppearance.backgroundColor = .clear
        coloredAppearance.titleTextAttributes = [.foregroundColor: UIColor.white]
        coloredAppearance.largeTitleTextAttributes = [.foregroundColor: UIColor.white]

        UINavigationBar.appearance().standardAppearance = coloredAppearance
        UINavigationBar.appearance().compactAppearance = coloredAppearance
        UINavigationBar.appearance().scrollEdgeAppearance = coloredAppearance
        UINavigationBar.appearance().tintColor = .white

    }

    func body(content: Content) -> some View {
        ZStack{
            //content
            VStack {
                GeometryReader { geometry in
                    Color(self.backgroundColor ?? .clear)
                        .frame(height: geometry.safeAreaInsets.top)
                        .edgesIgnoringSafeArea(.top)
                    Spacer()
                }
            }
            // Added this to botch NavigationTitle
            VStack {
                Text(self.navTitle)
                    .font(.system(size: 20))
                    .fontWeight(.semibold)
                    .foregroundColor(.white)
                        .padding(20)
                        .ignoresSafeArea()
                        .multilineTextAlignment(.center)

                Spacer()
            }

            // now add the content back
            content
        }
    }
}
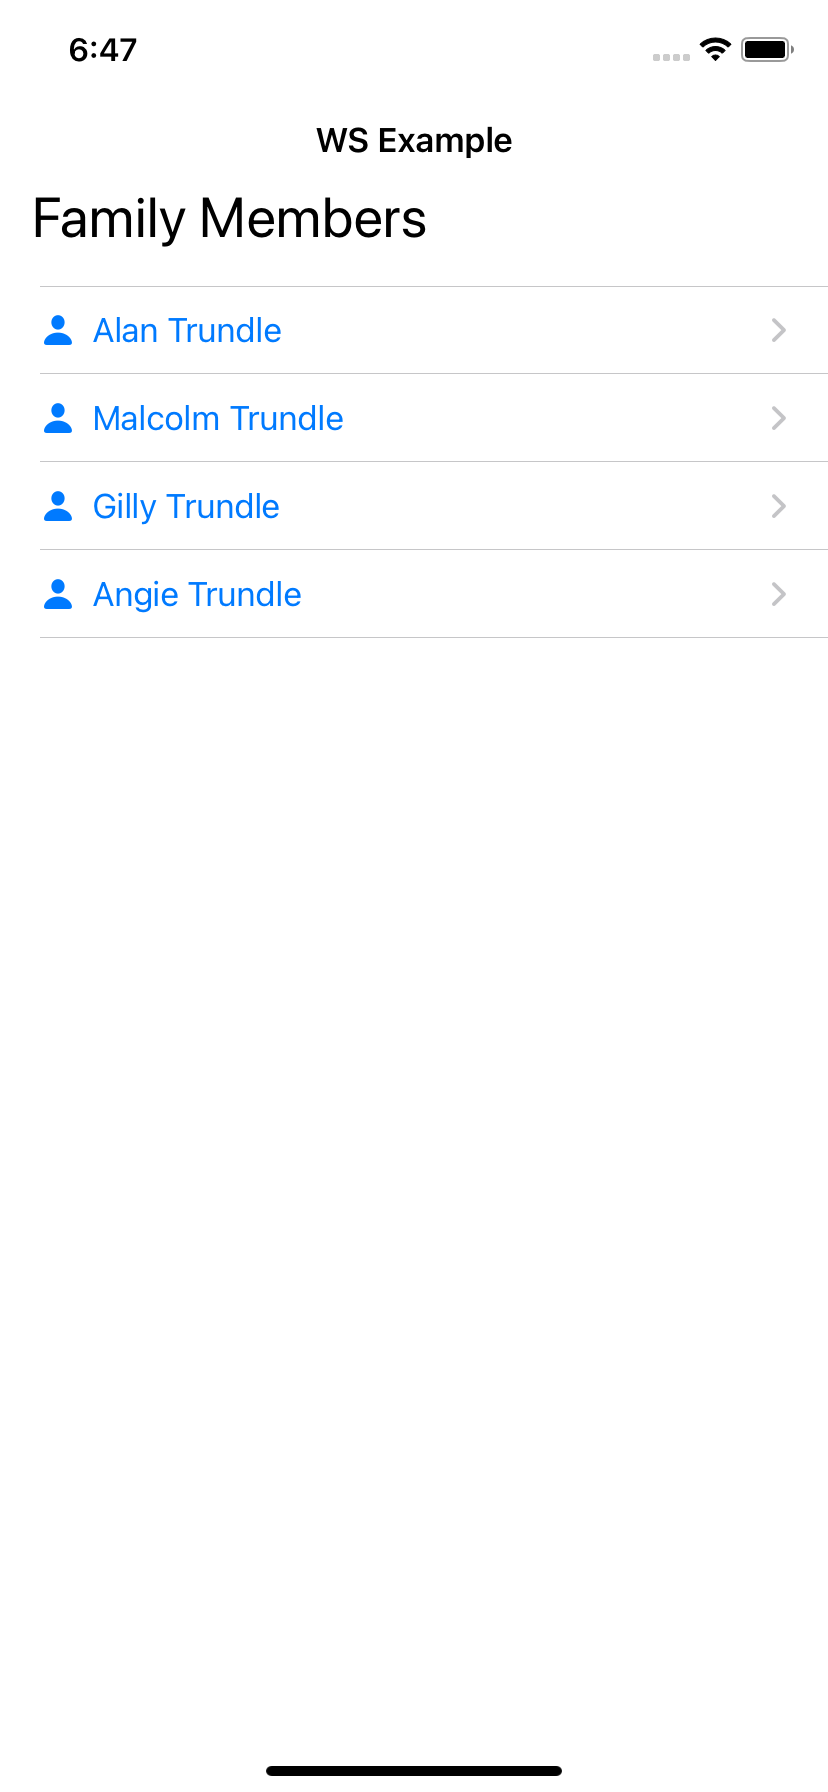
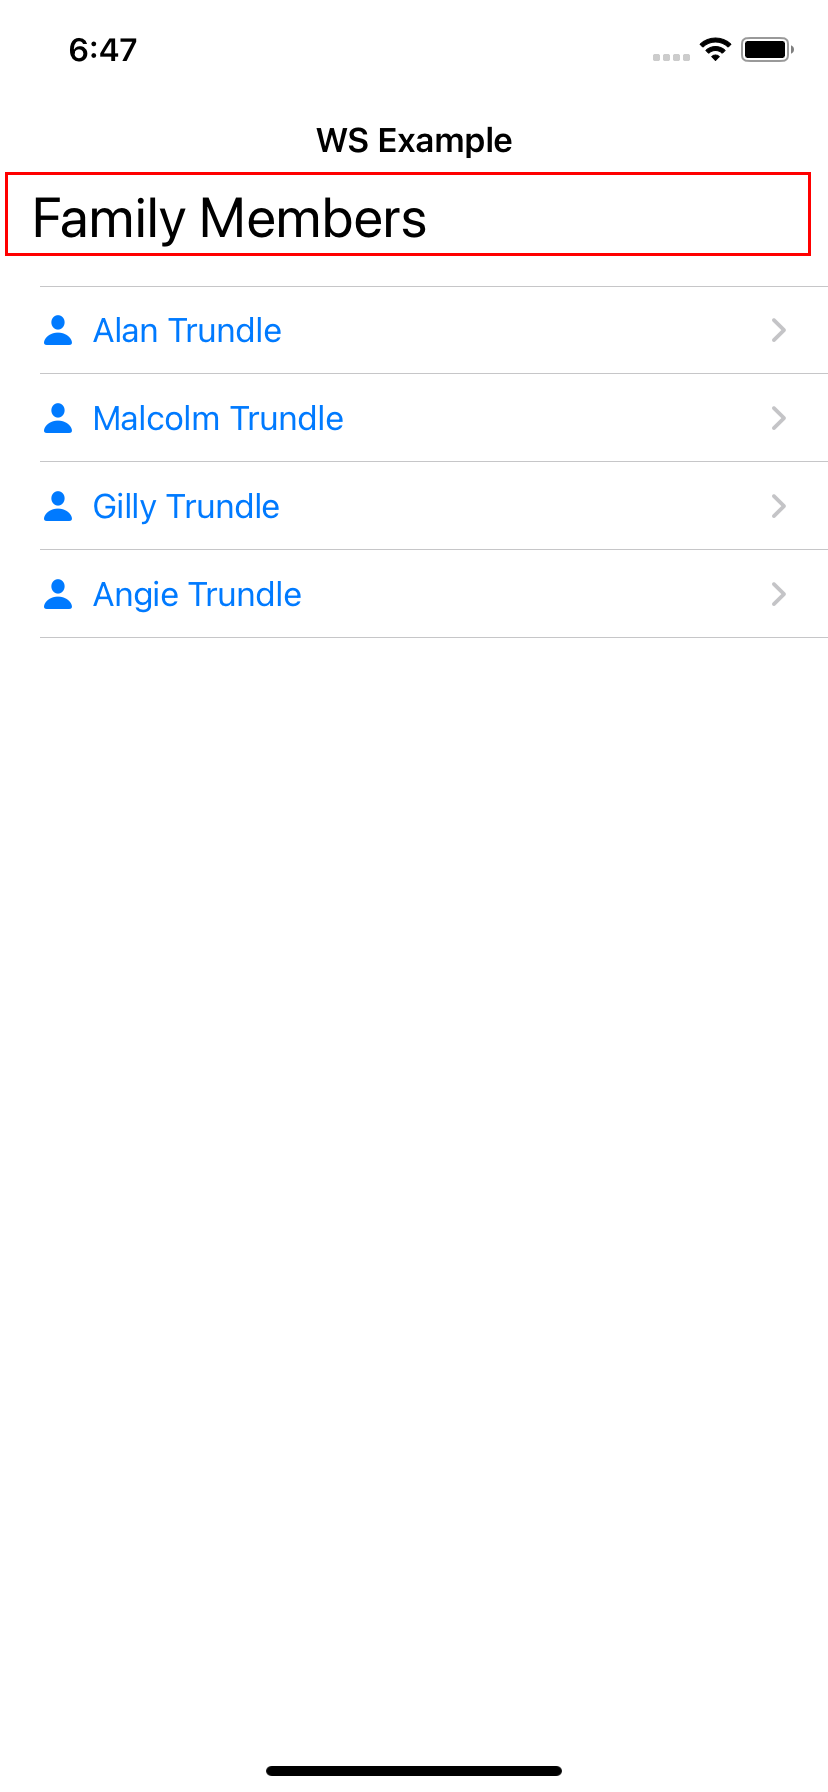
In the end, I decided to create a style for my Navigation Bar in the view that I created it, and that’s what I am using at the moment.
Doesn’t look like you can change it in the pushed view, but I have seen code that can change It realtime using color control as part of the App.
    init()
    {
        let navBarAppearance = UINavigationBarAppearance()
        navBarAppearance.largeTitleTextAttributes = [.foregroundColor: UIColor.white]
        navBarAppearance.titleTextAttributes = [.foregroundColor: UIColor.white]
        navBarAppearance.backgroundColor = .blue

        UINavigationBar.appearance().standardAppearance = navBarAppearance
        UINavigationBar.appearance().compactAppearance = navBarAppearance
        UINavigationBar.appearance().scrollEdgeAppearance = navBarAppearance
        UINavigationBar.appearance().tintColor = UIColor.systemBackground

    }
Regards
Alan